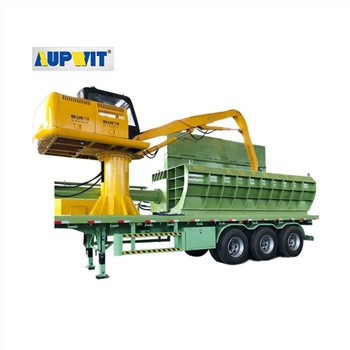
Adjusting the briquetting pressure requires careful steps to ensure optimal briquette quality and machine safety. Follow this systematic approach for safe, effective pressure adjustment.
Preparation
- Shut down the machine completely and disconnect its power source
- This prevents accidental startup during the process
- Gather the machine's operation manual for model-specific guidance
Locate and Clean Adjustment Component
- Find the pressure adjustment component in the hydraulic system
- Typically a pressure relief valve or regulating knob near the hydraulic pump
- Clean the area around the component to remove dust, metal chips, or oil
- Use a clean cloth to wipe the valve or knob
Pressure Adjustment
- Make gradual adjustments based on desired briquette density
- For loose briquettes: increase pressure by turning clockwise
- For dense briquettes: decrease pressure by turning counterclockwise
Avoid large adjustments at once. Use small, incremental changes to maintain system stability and prevent sudden pressure spikes that could damage hydraulic parts.
Testing and Finalizing
- After each adjustment, restart the machine and run a small test batch
- Observe briquette density and shape
- Well-formed briquettes that hold shape without cracking indicate proper pressure
- If issues persist, repeat the adjustment process with smaller increments
- Secure the adjustment component to prevent accidental shifts
- Record the setting in the machine's maintenance log
Following this step-by-step process ensures safe pressure adjustment and consistent briquette quality while preventing equipment damage and operator injury.


