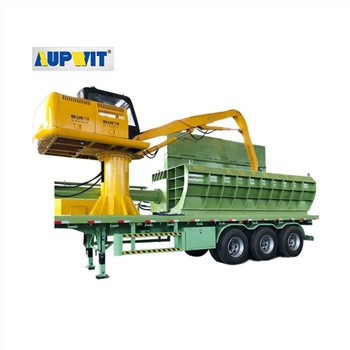
Baling Pressure Adjustment Guide
Follow these steps to safely and effectively adjust baling pressure
Pre-Adjustment Preparation
- Ensure the machine is stopped and the main power is disconnected
- Engage the emergency stop button to prevent accidental startup
- Clear any remaining material from the bin
- Check the hydraulic system for proper oil level and leaks
- Verify that hydraulic lines and joints are secure
- Replace turbid or insufficient hydraulic oil if needed
Entering the Pressure Parameter Settings
- Restart the machine and access the control panel
- Find the parameter settings menu for baling pressure
- Refer to your device manual for specific navigation steps
- Determine target pressure based on material characteristics
- Use lower pressure for loose materials like waste paper
- Use higher pressure for dense materials like plastic or metal
- Avoid blind adjustments that could create inappropriate pressure
Gradually Adjust and Test Pressure
- Use up/down keys or knob to gradually adjust pressure values
- Save parameters after each adjustment
- Perform a pressure test with a single compression cycle
- Observe pressure changes as the ram advances
- Check pressure display and material compression effect
- Increase pressure if material remains loose after compression
- Decrease pressure if ram struggles or device makes unusual noises
- Continue adjusting until compression is satisfactory and operation is smooth
Confirm Stability and Troubleshooting
- Perform multiple consecutive baling cycles to confirm stability
- Ensure pressure remains within set range without significant fluctuations
- Observe density and hardness of compressed material
- Stop machine immediately if abnormalities occur
- Check for parameter errors, hydraulic valve failures, or clogged pipelines
- Readjust and test after resolving any issues
- Avoid operating with faulty systems to prevent equipment damage


