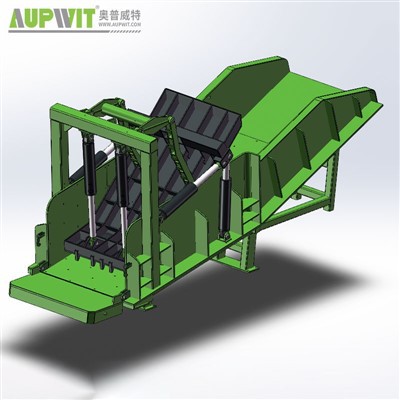
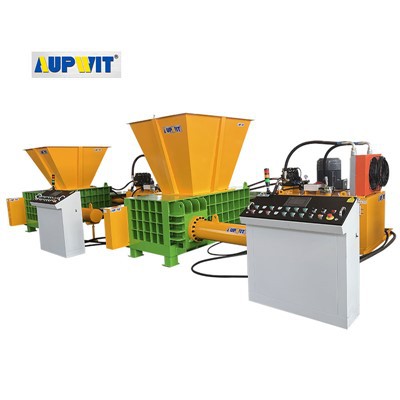
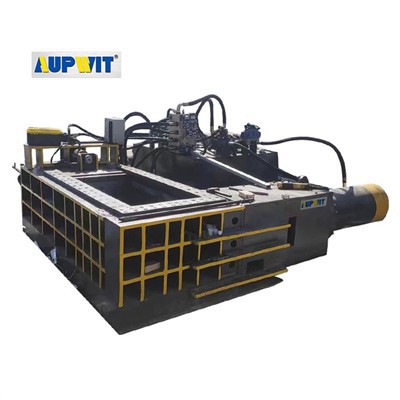
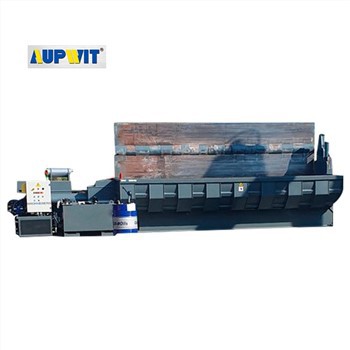
Horizontal Baler Installation Tools
Installing a Horizontal Baler requires a specific set of tools to ensure proper assembly, alignment, and safety. Below is a detailed list of essential tools and their roles in the installation process.
1. Mechanical Tools for Assembly
- Wrenches and Sockets: Adjustable Wrenches (e.g., 10–18 inches) and socket sets (metric or imperial, depending on the baler's specifications) are critical for tightening and loosening bolts, nuts, and fittings during frame assembly, hydraulic component installation, and conveyor belt adjustments.
- Torque Wrenches: Used to apply precise torque values to critical fasteners (e.g., hydraulic cylinder mounts, compression chamber bolts) to avoid over-tightening or under-tightening, which can cause leaks or structural failures.
- Screwdrivers: Phillips and flat-head screwdrivers for installing electrical panels, control switches, and safety guards.
- Impact Drivers: For stubborn screws in heavy-duty components, reducing manual effort and preventing stripping.
- Pliers and Cutters: Combination Pliers for gripping and bending small metal parts or adjusting wiring. Wire Cutters/Strippers: Essential for preparing electrical wires during power connection and control system setup.
2. Tools for Leveling and Alignment
- Spirit Level: A 4-foot or 6-foot spirit level is mandatory to ensure the baler is installed on a perfectly flat surface. This prevents uneven stress on the frame, which can lead to vibration, misalignment of moving parts, or premature wear of hydraulic components.
- Laser Alignment Tool (Optional): For high-precision installations, a laser level or alignment tool can verify the straightness of the compression chamber, conveyor belts, and hydraulic cylinders, ensuring smooth operation and optimal compression efficiency.
- Feeler Gauges: Used to measure gaps between moving parts (e.g., between the piston and compression chamber walls) to ensure proper clearance and prevent friction-related damage.
3. Hydraulic and Pneumatic Tools
- Hydraulic Hose Crimper and Cutter: If the baler requires custom hydraulic hose lengths, a crimper ensures secure fittings, while a cutter provides clean, precise cuts without damaging the hose interior.
- Pressure Gauge: Essential for testing and calibrating the hydraulic system's pressure settings during installation. This ensures the baler operates within safe and efficient pressure limits (e.g., 100–200 bar, depending on the model).
- Air Compressor and Blow Gun: Used to clean debris from the compression chamber, hydraulic components, or electrical enclosures before assembly, reducing the risk of contamination or blockages.
4. Electrical and Safety Tools
- Multimeter: For testing electrical connections, voltage levels, and continuity in the control panel, motors, and sensors. Ensures the power supply (typically 3-phase, 380–480V) is correctly wired and grounded.
- Insulation Tape and Cable Ties: To secure and insulate electrical wires, preventing short circuits or damage from moving parts. Cable ties organize wiring for a neat, hazard-free installation.
- Lockout/Tagout (LOTO) Tools: Includes padlocks, tags, and hasps to isolate the baler's power source during installation and maintenance, complying with safety regulations to prevent accidental startup.
5. Lifting and Moving Tools
- Forklift or Pallet Jack: Required to transport the baler from the delivery truck to the installation site, especially given its heavy weight (1–5 tons for standard models). Ensure the forklift's load capacity matches the baler's weight.
- Chain Hoist or Come-Along: For precise positioning of the baler on the foundation, especially in tight spaces where a forklift cannot maneuver. Helps align the machine with anchor bolts or mounting points.
- Wooden Blocks or Shims: Used to level the baler temporarily before securing it to the concrete foundation. Shims compensate for minor imperfections in the floor surface.
6. Specialized Tools (Model-Specific)
- Manufacturer's Tool Kit: Some baler models come with proprietary tools for adjusting compression plates, tensioning belts, or accessing hard-to-reach components (e.g., internal valves in the hydraulic system).
- Seal Installation Tools: For replacing or installing hydraulic cylinder seals, ensuring proper fit and preventing oil leaks during operation.
Always consult the manufacturer's installation manual and follow all safety protocols when working with industrial equipment. Proper tool selection and usage are critical for safe and efficient baler installation.