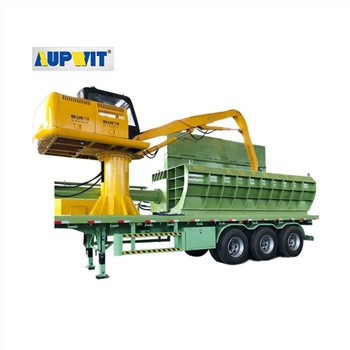
Installing the Grounding Device for a Horizontal Baler
Installing the grounding device for a Horizontal Baler is crucial for ensuring electrical safety, preventing electrical shock risks, and protecting the equipment from damage caused by electrical surges. Here are the steps to properly install the grounding device:
-
1 Select Appropriate Grounding Materials
Choose a grounding electrode made of highly conductive materials, such as copper-bonded steel rods or solid copper rods. The rod should be at least 2.5 meters in length and have a diameter suitable for the electrical load of the baler, typically 10-16 mm. Additionally, use copper grounding wires with sufficient cross-sectional area (usually 16-25 square millimeters) to ensure low resistance and reliable conductivity. -
2 Prepare the Grounding Location
Select a location for the grounding electrode away from the baler's foundation but within a reasonable distance, preferably within 3 meters. The soil at the chosen site should have good electrical conductivity; if the soil is dry or rocky, consider adding a grounding enhancer or saltwater to improve conductivity. Dig a vertical hole deep enough to fully insert the grounding rod, leaving only a small portion at the top for connection. -
3 Install the Grounding Electrode
Insert the grounding rod vertically into the hole. Use a sledgehammer or a grounding rod driver to ensure it is firmly driven into the ground until only about 10-15 cm of the rod is above the surface. If multiple rods are required (for better grounding), space them at least 5 meters apart and connect them with additional grounding wires. -
4 Connect the Grounding Wire
Strip the insulation from the ends of the grounding wire. Connect one end of the wire to the grounding rod using a grounding clamp. Ensure the connection is tight and corrosion-resistant, applying anti-corrosion paste if necessary. Route the other end of the wire to the Horizontal Baler, following a safe and concealed path to avoid damage. -
5 Connect to the Baler
Locate the designated grounding point on the Horizontal Baler, usually marked on the electrical panel or the machine frame. Clean the connection area to remove any paint, rust, or dirt that could impede conductivity. Securely attach the grounding wire to the baler's grounding point using a bolt and nut or a specialized grounding terminal, ensuring a solid electrical connection. -
6 Test the Grounding System
After installation, use a ground resistance tester to measure the resistance of the grounding system. The resistance should typically be less than 10 ohms; if it is higher, check the connections, add more grounding rods, or improve the soil conductivity. Regularly inspect and maintain the grounding device to ensure its continuous effectiveness.
Note: Always follow local electrical codes and regulations when installing grounding systems, and consider consulting with a qualified electrician for complex installations.


